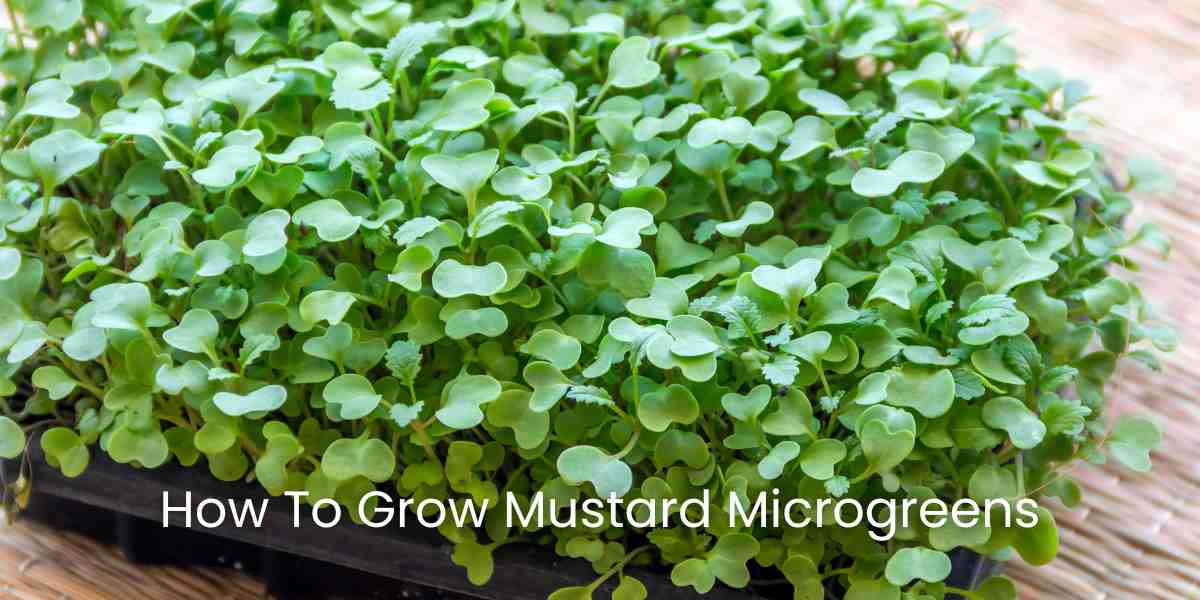
Growing Mustard Microgreens at Home: A Beginner’s 10-Day Guide
Introduction
More and more people are trying to grow mustard microgreens at home these days. These small plants are really amazing because they are super easy to grow and take very little space. You can grow them right on your kitchen counter!
These tiny greens have a spicy kick to them, just like regular mustard. When you add them to your sandwich or salad, they make everything taste much better. The best part is that they look very nice too, with their light green leaves and beautiful purple stems.
The taste is not the only good thing about mustard microgreens. They are packed with lots of good nutrients. They have plenty of vitamins A, C, E, and K. They also contain important minerals that our body needs. Actually, these small greens are much more nutritious than big mustard plants.
What makes mustard microgreens really special is that they grow very fast. While other plants take months to grow, these are ready to eat in just 7-10 days. They are also very strong plants and don’t get spoiled easily. If you are trying to grow microgreens for the first time, mustard is a great choice to start with.
Growing Requirements for Mustard Microgreens
Let’s talk about what you need to grow mustard microgreens at home. The good news is that you don’t need many fancy things. Most of these items you can easily find in your local garden shop or online.
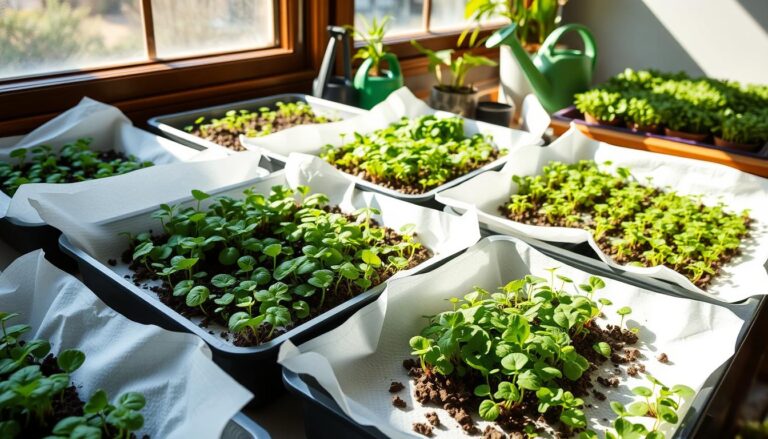
For containers, you can use any shallow tray that is about 1-2 inches deep. Make sure it has some drainage holes at the bottom. If you’re just starting out, even a simple plastic container from your kitchen will work fine. Just make some small holes in the bottom for water drainage.
Cocopeat is the best growing medium for mustard microgreens. It’s very light, holds water well, and helps seeds grow nicely. You can easily buy cocopeat blocks from your local garden shop. Before using, just soak the block in water and it will expand. Once it expands, break it up nicely so there are no lumps. This growing medium is much better than regular soil because it’s very clean and doesn’t contain any harmful bacteria.
These plants are quite adjustable when it comes to temperature. They grow well in normal room temperature, around 18-24°C. You don’t need to worry too much about humidity, but try to keep your growing area away from fans or ACs that might dry out the soil too quickly.
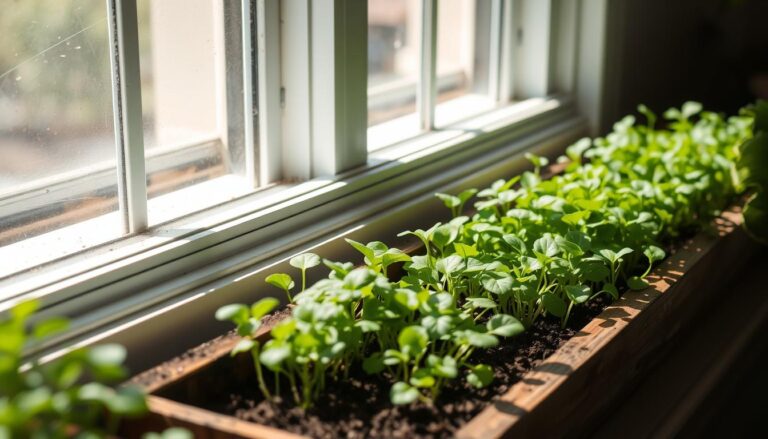
For light, mustard microgreens need about 4-6 hours of sunlight daily. A spot near your window that gets morning sun is perfect. If you don’t have good sunlight, you can use a simple LED light or tube light kept about 12 inches above the plants.
Here’s a quick list of basic supplies you’ll need:
- Growing tray (1-2 inches deep)
- Small drainage tray to catch water
- Cocopeat block
- Spray bottle for watering
- Mustard seeds (about 2-3 tablespoons per tray)
- Simple kitchen scissors for harvesting
How to Grow Mustard Microgreens – Step by Step
Let me tell you exactly how to grow these microgreens. It’s really not that difficult, and you’ll get it right after trying once or twice.
Getting Your Tray Ready
Take your tray and wash it nicely with water. If you’re using an old tray, make sure it’s clean. Check if water can flow out from the bottom holes properly. Now, put this tray in another tray that doesn’t have holes. This way, water won’t mess up your table or shelf.
Put cocopeat in your tray. Don’t fill it too much – about one inch is enough. Just spread it evenly with your hands. No need to press it down too hard. Now spray some water on it. The cocopeat should feel wet but not completely soaked.
Putting the Seeds
Now comes the fun part – spreading the seeds! For a normal tray (the size of a study table notebook), use 2 spoons of mustard seeds. Just spread them like you’re sprinkling salt on food. Make sure they’re spread nicely all over. Don’t worry if some seeds touch each other – that’s okay.
Don’t try to cover the seeds with cocopeat. Just leave them on top. Spray some water on them gently. Be careful here – if you spray too hard, the seeds will move around and collect in one place.
Keeping Them in Dark
Cover your tray with something dark. You can use another tray upside down or even a newspaper. Seeds need darkness to sprout well. Keep them covered for 2-3 days. Every morning, just lift the cover and check if they need water. If the seeds look dry, spray a little water.
Moving to Light
After 2-3 days, you’ll see small white sprouts coming out. Now you can remove the cover. Keep your tray near a window where morning sun comes. Don’t have good sunlight? No problem! Keep a normal tube light about 1 foot above the tray for 12 hours daily.
Daily Care Tips
Here’s what you need to do every day:
Morning time: Check if plants need water. The easiest way is to lift your tray – if it feels light, add some water in the bottom tray.
Afternoon: If you’re at home, just look at your plants once. If they look a bit dry, give them a light spray.
Evening: One quick check again. Make sure they’re not too dry.
Some quick tips from my experience:
- Don’t pour water directly on plants like we water normal plants
- Always use a spray bottle for watering
- If you see any yellow leaves, remove them
- Keep your tray in a place with good air movement
- Don’t let water collect in the bottom tray for many hours
That’s all! It’s pretty simple, right? In just a few days, you’ll have lovely mustard microgreens ready to eat.
When and How to Harvest Your Mustard Microgreens
Let me tell you what happens day by day with your mustard microgreens. It’s quite fast and exciting to watch them grow!
Day 1-2: Seeds will start sprouting in the dark
Day 3: You’ll see small white stems coming up
Day 4: Time to remove the cover – tiny yellow leaves will show up
Day 5-6: Leaves turn green and start growing bigger
Day 7-8: Plants are about 2-3 inches tall, looking fresh and green
Day 8-10: Perfect time for harvesting!
The best time to harvest is when the leaves are bright green and plants are about 2-3 inches tall. Don’t wait too long, or they might become too spicy to eat.
Harvesting is super easy. Take clean scissors and cut the stems just above the cocopeat level. Don’t pull the plants – cutting is better. Try to harvest everything at once because they don’t grow back properly after cutting.
After cutting, don’t wash them immediately. First, keep them in a dry box in the fridge. Only wash them when you want to eat. They can stay fresh in the fridge for 5-7 days if you keep them in a box with a paper towel at the bottom. Just make sure they’re completely dry before storing.
Some Helpful Tips
You know what? After trying to grow mustard microgreens many times, I’ve learned some really useful things. Let me share them with you.
First time I tried growing these, I made so many mistakes! Now I know better. Make sure you buy fresh seeds – I once used some old seeds from my drawer and nothing happened, total waste of time! Also, these plants are quite fussy about temperature. My friend kept his tray near the AC, and the plants grew super slowly.
One trick that really works is cleaning your trays with normal water. No need for fancy cleaners! And about watering – I check my plants just like I check my phone, once in a while throughout the day. In summer, they drink more water, just like us!
The biggest mistake people make? They wait too long to harvest. Trust me, I did this once and the microgreens became too spicy to eat. Cut them when they’re young and fresh.
A few things to avoid:
- Using fridge-cold water (plants don’t like cold showers!)
- Keeping them in dark for too many days (they’re not mushrooms)
- Letting water sit in the bottom tray (they don’t like wet feet)
Look, even if your first try isn’t perfect, no tension! My first batch was a disaster – half the seeds didn’t even sprout. But now I can grow them perfectly. Just keep trying!