How to Store Microgreens: Expert Storage Tips for Home Growers
Introduction
Many home gardeners face a common problem when it comes to microgreens. These tiny plants are wonderful to grow, but storing them after harvest can be quite tricky. Most beginners notice their freshly cut microgreens becoming soft and wilted by evening, even when cut fresh in the morning. This guide will explain how to store microgreens, helping home growers keep their harvest fresh for longer periods.
These small greens need different care compared to regular vegetables from the market. One cannot simply put them in any container and expect them to stay fresh. Most new growers make this mistake. They harvest a fresh batch of microgreens, store them without proper care, and find them yellow and lifeless the next day.
Storage plays a big role in keeping microgreens fresh. With good storage methods, these greens can stay fresh for 5-10 days. However, poor storage reduces their life to just 1-2 days. The most common storage problems include yellowing leaves, slimy stems, and sometimes mold growth. These issues usually occur when the greens are stored wet or kept at wrong temperatures.
For anyone interested in growing microgreens at home, there is a solution to these storage problems. Different varieties have different storage needs. Stronger varieties like pea shoots can stay fresh for up to two weeks in the fridge, while more delicate ones need quicker use.
Harvesting Microgreens for Better Storage
The way someone harvests microgreens makes a big difference in how long they stay fresh. Most experienced growers prefer early morning harvesting, just after the dew dries but before the sun becomes strong. Morning harvest gives microgreens enough time to use their stored water overnight, making them crisp and full of nutrients. Harvesting in the afternoon often leads to limp greens that don’t store well.
Tools for Proper Harvesting
For clean cuts and better storage, growers need:
- A sharp pair of scissors (regular kitchen scissors won’t work well)
- Clean plastic trays for collecting cut greens
- Paper towels for initial moisture control
- A clean spray bottle with drinking water
- Small fan for drying (optional but helpful)
Cutting Techniques That Work
The right cutting method helps microgreens stay fresh longer. Growers should hold the stems gently in a bunch and cut them about 1/2 inch above the soil. Sharp scissors prevent crushing the delicate stems. Crushed stems rot quickly in storage. Many beginners make the mistake of pulling instead of cutting – this damages the stems and reduces storage life.
Cleaning and Drying Steps
After cutting, microgreens need proper cleaning and drying:
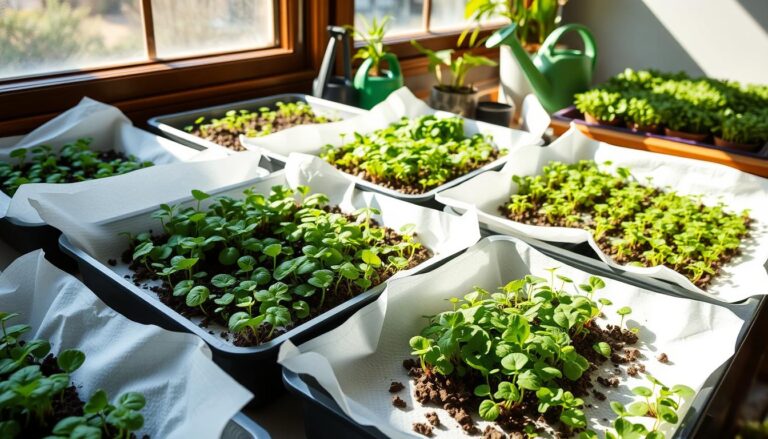
- Place cut microgreens on clean paper towels
- Gently spray with clean water if needed
- Let them air dry for 30 minutes
- Pat very gently with paper towels if still wet
- Never put wet microgreens in storage containers
Common Mistakes to Avoid
Many storage problems start with harvest mistakes:
- Cutting when leaves are wet from watering
- Using blunt scissors that crush stems
- Overcrowding harvested greens in containers
- Skipping the drying process
- Rough handling that bruises the tender leaves
Good harvesting practices help microgreens stay fresh longer in storage. Taking extra care during harvest might seem time-consuming, but it saves time and reduces waste later. When handled properly from the start, microgreens have a much better chance of staying fresh throughout their storage period.
How To Store Microgreens In Refrigerator
The refrigerator plays a crucial role in storing microgreens properly. Most home refrigerators can keep microgreens fresh, but one needs to know the right settings and spots for the best results.
Best Temperature Settings
The ideal temperature for storing microgreens falls between 2 to 5 degrees Celsius. In a regular home fridge, this means:
- Setting the refrigerator temperature to medium-cold
- Avoiding the freezer section completely
- Checking the temperature with a simple fridge thermometer
- Adjusting settings based on seasonal changes
Perfect Spots in Home Refrigerator
Not all spots in the fridge work well for microgreens. The best places are:
- The middle shelf (most stable temperature)
- The crisper drawer (good humidity control)
- Away from the back wall (prevents freezing)
- Away from strong-smelling foods
Choosing the Right Container
Different containers give different results:
- Glass containers: Last longer but cost more and not possible to put holes to allow ventilation.
- Plastic containers: Work well but need replacing every few months
- Avoid metal containers: They can affect taste
- Container size: Choose one that fits one batch without overcrowding
Paper Towel Method Step-by-Step
Many growers use this simple but effective method:
- Line the container bottom with 2 paper towels
- Spread microgreens in a single layer
- Cover with another paper towel loosely
- Close lid but not too tight
- Change paper towels if they become too wet
Managing Humidity
Controlling moisture helps prevent spoilage:
- Use holes in container lids for ventilation
- Check for water droplets inside container
- Remove excess moisture with fresh paper towels
- Keep away from water-rich vegetables
Air Flow Requirements
Microgreens need some air movement to stay fresh:
- Don’t pack containers too tightly
- Make 4-5 small holes in container lids
- Leave some space between stacked containers
- Open containers every 2-3 days to refresh air
- Watch for condensation build-up
Home refrigerator storage works best when growers check their microgreens daily. A quick look helps catch any storage problems early. With proper temperature, the right container, and good air flow, microgreens can stay fresh for 7-10 days in most home refrigerators.
Room Temperature Storage for Microgreens
Sometimes keeping microgreens at room temperature works better than refrigeration. The live tray storage method keeps microgreens growing right until use, giving the freshest possible harvest. But room temperature storage needs more attention to detail.
Live Tray Storage Method
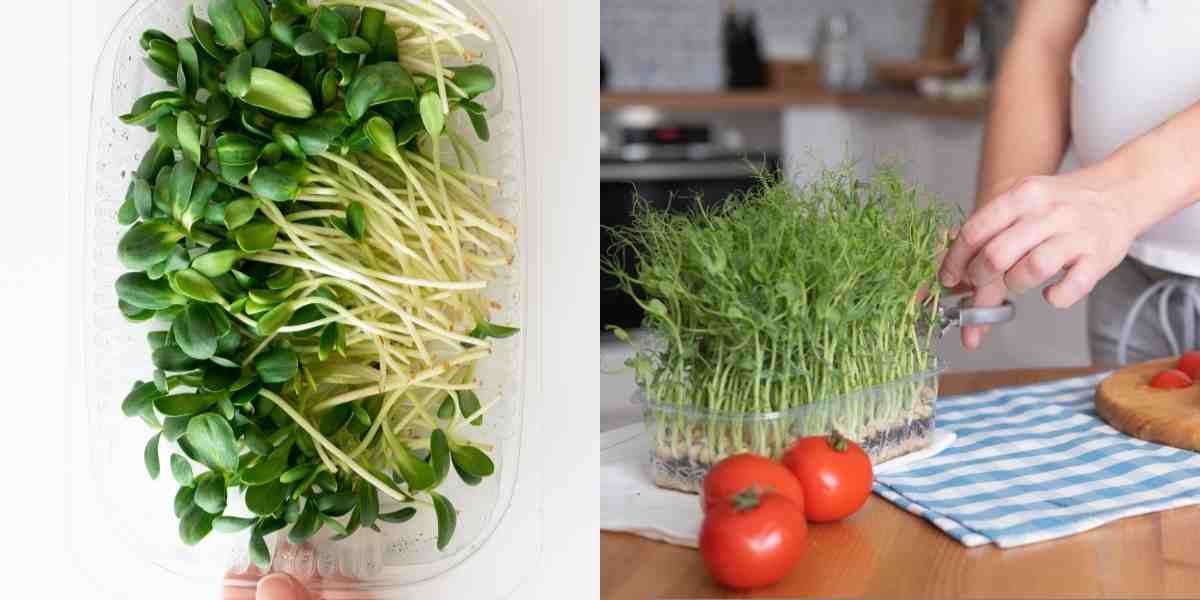
The live tray method means keeping microgreens growing in their original trays:
- Keep microgreens in growing trays after they reach harvest size
- Cut only what is needed each time
- Maintain plants in their growing medium
- Store trays in a suitable indoor space
- Expect 1-2 weeks of fresh harvests
Growing Medium Care
The soil or growing mat needs proper maintenance:
- Check moisture levels daily
- Remove any fallen leaves promptly
- Watch for mold growth
- Keep the surface clean
- Avoid overwatering which causes root problems
Watering Schedule
Proper watering makes a big difference:
- Water once every 1-2 days depending on room temperature
- Always water from the bottom of the tray
- Use just enough water to dampen the medium
- Water in the morning for best results
- Reduce watering if leaves start yellowing
Light Needs for Live Storage
Light plays an important role in keeping microgreens healthy:
- Place trays near a window but avoid direct sunlight
- Use normal room lighting for 4-6 hours daily
- Keep away from strong heat sources
- Rotate trays every few days
- Avoid dark corners where mold might grow
When to Use Room Temperature Storage
Room temperature works better in certain situations:
- For continuous small harvests
- When refrigerator space is limited
- During power cuts
- For stronger varieties like pea shoots and sunflower
- When planning to use within 5-7 days
Room temperature storage needs more daily attention than refrigeration, but gives growers the advantage of harvesting exactly what they need, when they need it. This method works especially well for home cooks who use small amounts of microgreens regularly.
Storage Life of Different Microgreen Types
Not all microgreens last the same time in storage. Some types stay fresh longer than others. Understanding these differences helps plan harvesting and storage better.
Tender Microgreens (5-7 days)
Delicate varieties need extra care:
- Basil microgreens: 5-6 days
- Cilantro microgreens: 5-7 days
- Amaranth: 5-6 days
- Mint microgreens: 5-7 days
Special care for tender varieties:
- Keep temperature very stable
- Use smaller containers
- Check twice daily for moisture
- Handle with extra care during transfer
- Store away from heavy greens
Hardy Microgreens (7-10 days)
These common varieties store well:
- Radish microgreens: 8-10 days
- Sunflower shoots: 7-9 days
- Broccoli microgreens: 7-8 days
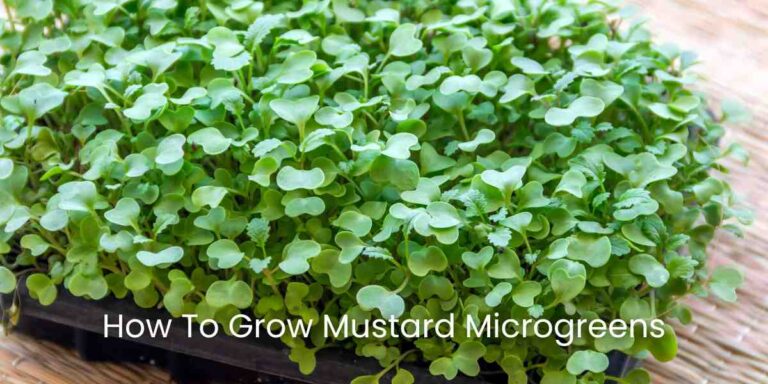
- Mustard greens: 7-9 days
Storage tips for hardy types:
- Regular containers work fine
- Can handle slight temperature changes
- Need checking once daily
- Stack containers if needed
- Mix different hardy types together
Ultra-Hardy Microgreens (10-14 days)
The strongest varieties last longest:
- Pea shoots: 12-14 days
- Wheatgrass: 10-12 days
- Corn shoots: 10-12 days
- Buckwheat: 10-14 days
These tough varieties need:
- Less frequent checking
- Work well in larger containers
- Handle temperature changes better
- Can be stored in bigger batches
- Stay fresh even with some handling
Extending Storage Life
Simple tricks to make all types last longer:
- Harvest when completely dry
- Sort microgreens by type
- Store similar types together
- Remove any yellowing leaves promptly
- Keep containers clean and dry
Best results come from storing each type properly:
- Tender types need their own small containers
- Hardy types can share space with similar ones
- Ultra-hardy types manage well in larger batches
Different storage times help plan weekly harvests better. Growers can plant tender varieties more often, while ultra-hardy types need less frequent planting. This knowledge helps maintain a steady supply of fresh microgreens throughout the week.
Signs of Spoilage in Microgreens
Knowing when microgreens go bad helps prevent waste and health problems. Regular checking helps catch problems early.
Visual Warning Signs
Growers should watch for:
- Yellow or brown spots on leaves
- Black marks on stems
- White fuzzy growth (mold)
- Wilting even when moist
- Unusual dark patches
Smell Changes
Bad smells mean trouble:
- Sour or fermented smell
- Musty odour
- Rotting vegetable smell
- Any unusual strong smells
- Loss of fresh green scent
Texture Problems
Bad texture means:
- Slimy stems
- Mushy leaves
- Wet and sticky feeling
- Leaves sticking together
- Very limp stems
When to Throw Away
Discard microgreens when:
- Mold appears anywhere
- Strong odd smells develop
- Stems become slimy
- More than 30% are yellow
- Unsure about freshness
Preventing Contamination
Keep microgreens safe by:
- Using clean containers
- Washing hands before handling
- Keeping different batches separate
- Using clean scissors for cutting
- Removing spoiled pieces quickly
Regular checks help catch problems before they spread. When in doubt about freshness, it’s better to discard the microgreens.
Storage Methods for Different Usage Times
Different usage needs require different storage methods. Knowing how to store microgreens based on when they will be used helps maintain their freshness.
Immediate Use (1-2 days)
Quick storage works for soon-to-use greens:
- Keep in open container in fridge
- Use simple paper towel lining
- No need for special packaging
- Store at front of fridge
- Skip complex moisture control
Short-Term Storage (3-5 days)
Regular home storage works well:
- Use regular containers with lids
- Add basic ventilation holes
- Check moisture daily
- Keep in crisper drawer
- Change paper towels once
Long-Term Storage (7+ days)
Extra care helps extend storage life:
- Use best quality containers
- Control moisture carefully
- Check twice daily
- Keep temperature very stable
- Use proper ventilation setup
Transport Storage
For lunch boxes and picnics:
- Pack in small, sturdy boxes
- Add damp paper towel
- Keep cool with ice pack
- Use within 6 hours
- Avoid crushing with other items
These storage methods help use microgreens efficiently without waste.
Conclusion: Successful Microgreens Storage
Storing microgreens does not need to be complicated. With proper care and attention to simple details, home growers can keep their harvest fresh for many days. The key points to remember are using the right containers, checking regularly for freshness, and storing different types according to their needs.
Starting with good harvest practices makes a big difference in storage life. Clean containers, proper moisture control, and the right temperature help maintain freshness. Whether storing in the fridge or at room temperature, regular checking helps catch any problems early.
Different microgreens need different care, but all benefit from clean handling and proper storage conditions. By following these storage guidelines, home growers can enjoy fresh, healthy microgreens throughout the week without waste.