How to Harvest Microgreens for Best Yield

Introduction
Many people think growing microgreens is the hard part, but the real challenge comes during harvest time. A person can spend weeks growing the perfect crop, but without proper harvesting techniques, all that hard work might go to waste. The truth is, anyone who wants good results needs to learn how to harvest microgreens the right way.
It’s quite common to see new growers lose almost half their crop because they don’t know the proper harvesting methods. Most beginners think they can just cut the microgreens any way they want. However, there is actually a proper technique to it, and following the right methods makes a big difference in the final results.
The interesting thing about microgreens is that the harvesting process can actually make or break the final yield. When someone harvests their crop the wrong way, they usually end up with less produce and poor quality greens that don’t last very long. But when done properly, the same crop can give much better results.
This guide will help readers understand:
- When is the right time to harvest different types of microgreens
- Which tools work best for cutting
- How to get the maximum amount from each tray
- The best ways to keep harvested microgreens fresh
- What to do when facing common problems during harvest
For anyone who wants to improve their microgreen yields, the information in this guide will be quite useful. It covers everything from basic harvesting steps to advanced techniques that commercial growers use.
Understanding Harvest Timing
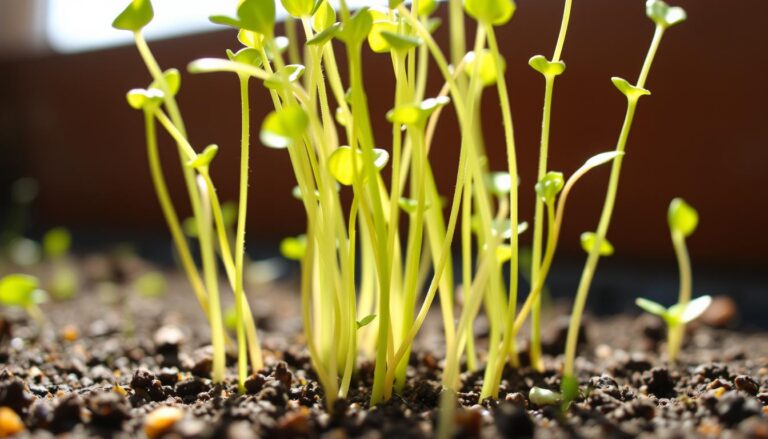
Knowing the right time to harvest microgreens is very important for getting good results. Most microgreens take between 7 to 21 days to become ready for harvest, but the exact timing depends on what type is being grown. The key is to look for certain signs that show the microgreens are ready to be cut.
The first thing to check is the height of the plants. Most microgreens should be about 8-10 cm tall before harvesting. At this height, they have developed their first set of true leaves, which means they have the best flavor and nutrients. However, it’s not just about the height – the color of the leaves also matters a lot.
Different Types and Their Harvest Times:
| Microgreen Type | Days to Harvest | Signs of Readiness |
| Radish | 7-10 days | Dark green leaves, bright stems |
| Sunflower | 10-12 days | Yellow-green color, open leaves |
| Pea Shoots | 14-21 days | Bright green, curly tendrils |
| Amaranth | 8-12 days | Deep red or purple color |
| Basil | 16-21 days | Two sets of true leaves, strong aroma |
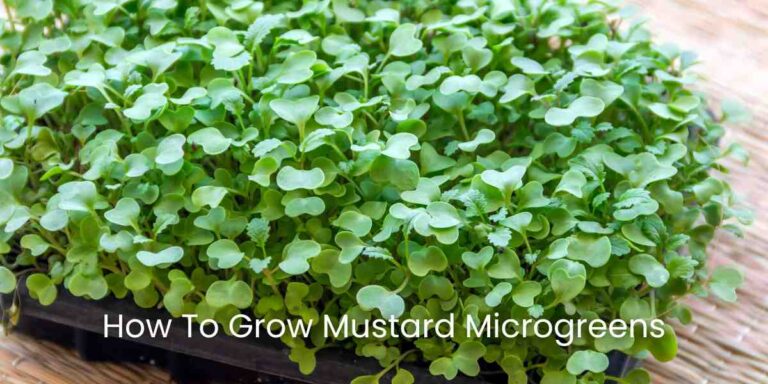
| Mustard | 6-10 days | Bright green leaves with pink stems |
| Beet | 11-15 days | Deep red stems, green-red leaves |
| Kale | 8-12 days | Dark green leaves, sturdy stems |
| Coriander | 14-21 days | Well-formed leaves, fresh smell |
| Broccoli | 7-10 days | Dark green color, thick stems |
| Arugula | 7-10 days | Oval leaves, peppery taste |
| Cabbage | 8-12 days | Green or purple leaves based on variety |
| Wheatgrass | 9-12 days | Bright green, split leaves |
| Spinach | 10-14 days | Dark green, oval-shaped leaves |
Common mistakes that people make with harvest timing:
- Cutting too early: The microgreens will be too small and won’t have enough flavor
- Waiting too long: The plants become leggy and lose their tender texture
- Not checking the whole tray: Some parts might be ready while others need more time
- Harvesting at wrong times of day: Early morning is best when plants have the most moisture
One easy way to know if microgreens are ready for harvest is to taste test a few leaves from different parts of the tray. When they have a strong flavor and the stems are crisp but not too tough, that means they are ready to cut. It’s better to harvest a bit early than too late, as oversized microgreens often become bitter and tough.
The weather also affects harvest timing. During hot weather, microgreens grow faster and need to be checked more often. In cooler weather, they might take a few extra days to reach the right size. Regular checking helps catch them at just the right time.
Essential Tools and Equipment
Having the right tools makes it much easier to harvest microgreens properly. The good news is that one doesn’t need very expensive equipment to get started. Here are the basic tools needed for harvesting microgreens:
Basic Harvesting Tools:
- Sharp scissors or harvesting knife (at least 15 cm long)
- Clean plastic trays for collecting cut microgreens
- Small brush for cleaning up loose leaves
- Cotton gloves or disposable food-grade gloves
- Large cutting board or clean work surface
- Weighing scale for measuring yields
Cleaning Requirements:
The most important thing about tools is keeping them clean. Before and after every harvest:
- Wash all tools with hot water and mild soap
- Use food-grade sanitizer to disinfect cutting tools
- Keep a separate spray bottle with cleaning solution
- Dry all equipment with clean paper towels
- Store tools in a clean, dry place
Storage and Packaging Items:
For keeping harvested microgreens fresh:
- Clear plastic containers with ventilation holes
- Paper towels or moisture pads
- Clean spray bottle for misting
- Labels for marking harvest dates
- Airtight containers for bulk storage
- Rubber bands or twist ties
- Small and medium zip-lock bags
One smart tip is to have two sets of cutting tools. This way, when one set is being cleaned, work can continue with the other set. Also, sharp tools are very important – dull scissors can damage the delicate stems and reduce the shelf life of microgreens.
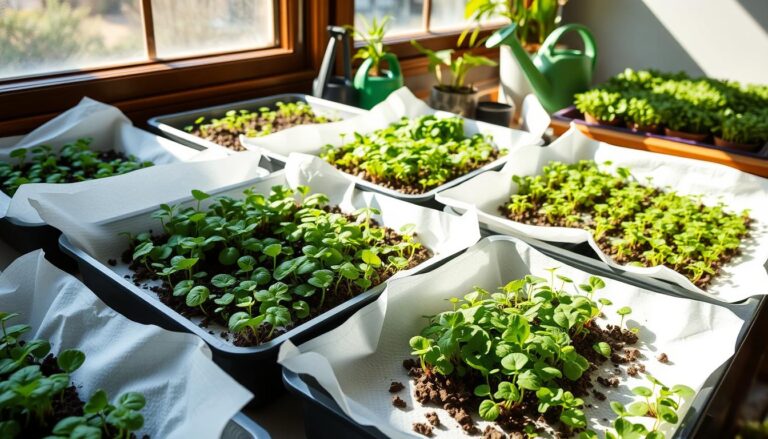
Step-by-Step Harvesting Guide
Before starting to harvest microgreens, there are some important steps to follow. This guide will explain everything from preparation to final handling of the cut microgreens.
Pre-harvest Preparation:
The day before harvest, one should:
- Stop watering the microgreens to reduce moisture
- Clean all tools and prepare the work area
- Get all storage containers ready
- Remove any yellow or damaged plants
- Check if the crop is dry enough to cut
Proper Cutting Techniques:
To get the best results when learning how to harvest microgreens, follow these steps:
- Hold a bunch of microgreens gently with one hand
- Cut about 1 cm above the soil level
- Use a smooth, single cutting motion
- Move from one end of the tray to the other
- Keep the cuts at the same height throughout
Getting the height right is very important. Here’s what to remember:
- Most microgreens should be cut at 5-7 cm height
- Taller varieties like pea shoots can be cut at 10-12 cm
- Never cut too close to the soil to avoid contamination
- Make sure all cuts are clean and even
- Leave enough stem for good shelf life
Post-Cut Handling Steps:
After cutting the microgreens:
- Place them loosely in clean collection trays
- Remove any fallen leaves or stems
- Sort them according to length if needed
- Don’t stack them too high
- Keep them away from direct sunlight
Common Problems to Watch For:
- Uneven cutting height
- Soil getting mixed with cut greens
- Damaged stems from dull scissors
- Too much handling of cut microgreens
- Delayed packaging after cutting
Important Tips:
- Work in small sections
- Keep checking the sharpness of scissors
- Handle microgreens as little as possible
- Package them quickly after cutting
- Don’t wash microgreens after cutting unless absolutely needed
The whole process should be done smoothly and quickly. The less time taken between cutting and storage, the better the microgreens will stay fresh. If working with many trays, it’s better to harvest and pack one tray at a time rather than cutting everything at once.
Maximizing Yield Through Best Practices
Getting the most out of each tray of microgreens depends on many factors that need attention even before the harvest time comes. Understanding these practices helps growers get better yields consistently.
Density Management:
Getting the seeding density right is very important for good yields:
- Most microgreens need 30-40 grams of seeds per tray. Depends on the size of the tray.
- Spread seeds evenly across the growing area
- Avoid overcrowding as it leads to weak plants
- Different microgreens need different spacing
- Keep notes of which densities work best
Environmental Factors:
The growing environment plays a big role in yield:
- Keep temperature between 18-24°C
- Maintain humidity around 50%
- Ensure good air circulation
- Protect from sudden temperature changes
- Keep growing area clean and pest-free
Proper Watering Practices:
Water management greatly affects the final yield:
- Water from bottom instead of top
- Reduce watering 12-24 hours before harvest
- Make sure soil stays moist but not wet
- Watch for any dry spots in trays
- Don’t water right before cutting
Light Management:
Good lighting leads to strong, healthy plants:
- Give 12-16 hours of light daily
- Keep lights at proper height
- Use proper growing lights if indoors
- Rotate trays if using natural light
- Avoid very bright direct sunlight
These practices together help get maximum yields. The key is to keep checking the plants regularly and make small adjustments as needed. When how to harvest microgreens is done right, along with proper growing practices, yields can improve by 25-30% compared to poorly managed crops.
Post-Harvest Handling
After learning how to harvest microgreens properly, the next important step is handling them correctly after cutting. Good post-harvest handling keeps microgreens fresh for longer and maintains their quality.
Cleaning Procedures:
Most microgreens don’t need washing after harvest. However, if cleaning is needed:
- Use clean, cold water only if necessary
- Dip briefly in cold water
- Put in spinner to remove extra water
- Dry on clean paper towels
- Handle very gently during cleaning
Storage Methods:
Different storage options work well:
- Plastic containers with air holes
- Glass containers with loose lids
- Paper bags for short-term storage
- Zip-lock bags with paper towels
- Large containers for bulk storage
Packaging for Different Uses:
The packaging needs change based on use: For Home Use:
- Small containers (250g)
- Paper bag storage
- Simple plastic boxes
For Selling:
- Professional plastic boxes
- Proper labels with dates
- Branded packaging
- Weight marked clearly
Temperature Control:
Temperature is very important for storage:
- Keep between 3-5°C in fridge
- Never freeze microgreens
- Avoid warm temperatures
- Check fridge temperature regularly
- Don’t keep near fruits that ripen
Good post-harvest handling can make microgreens last 7-10 days. Without proper handling, they might only stay fresh for 2-3 days. The key is to work quickly and keep everything clean and cool throughout the process.
Common Harvesting Challenges and Solutions
Even when someone knows how to harvest microgreens properly, they might face some common problems. Here are the main challenges and ways to solve them.
Dealing with Uneven Growth:
When microgreens grow at different heights:
- Harvest the ready sections first
- Give extra time to shorter areas
- Check soil evenness in future batches
- Adjust watering patterns
- Make sure light spread is even
Managing Pest Problems:
If pests appear during harvest time:
- Remove affected plants right away
- Check other trays for problems
- Use clean tools for healthy plants
- Keep growing area extra clean
- Don’t mix bad plants with good ones
Handling Delicate Types:
Some microgreens need extra care:
- Use very sharp scissors
- Cut in small bunches
- Handle stems carefully
- Work slowly and steadily
- Package right after cutting
Quality Problems and Solutions:
When quality issues come up:
- Yellow leaves: Check lighting
- Weak stems: Reduce water
- Brown spots: Improve air flow
- Mold: Reduce humidity
- Bad smell: Check soil quality
Most of these problems can be fixed by making small changes to the growing and harvesting process. The key is to spot problems early and take action quickly.
Tips for Commercial Growers
For those planning to grow and harvest microgreens on a large scale, some special considerations are needed.
Scaling Up Production:
- Use standard tray sizes
- Stack growing racks vertically
- Plan weekly growing schedules
- Keep backup supplies ready
- Maintain proper records
Efficiency Tips:
- Buy tools in sets of three
- Work in assembly-line style
- Pack while harvesting
- Label everything clearly
- Keep extra packaging ready
Useful Equipment:
- Electric scissors for faster cutting
- Large weighing scales
- Multiple collection trays
- Commercial refrigerator
- Proper work tables
These practices help commercial growers handle large amounts of microgreens efficiently while maintaining quality.
Conclusion
Growing and harvesting microgreens is a rewarding activity that gets better with practice. The key points to remember are using clean, sharp tools, cutting at the right time, and handling the harvest carefully. While it might seem difficult at first, following the proper steps makes a big difference in getting good results.
For the next step, start with easy-to-grow varieties like radish or mustard microgreens. Practice these techniques, keep notes of what works best, and soon enough, the results will show in better harvests.