Mason Jar Microgreens Growing: Easy Indoor Garden Guide
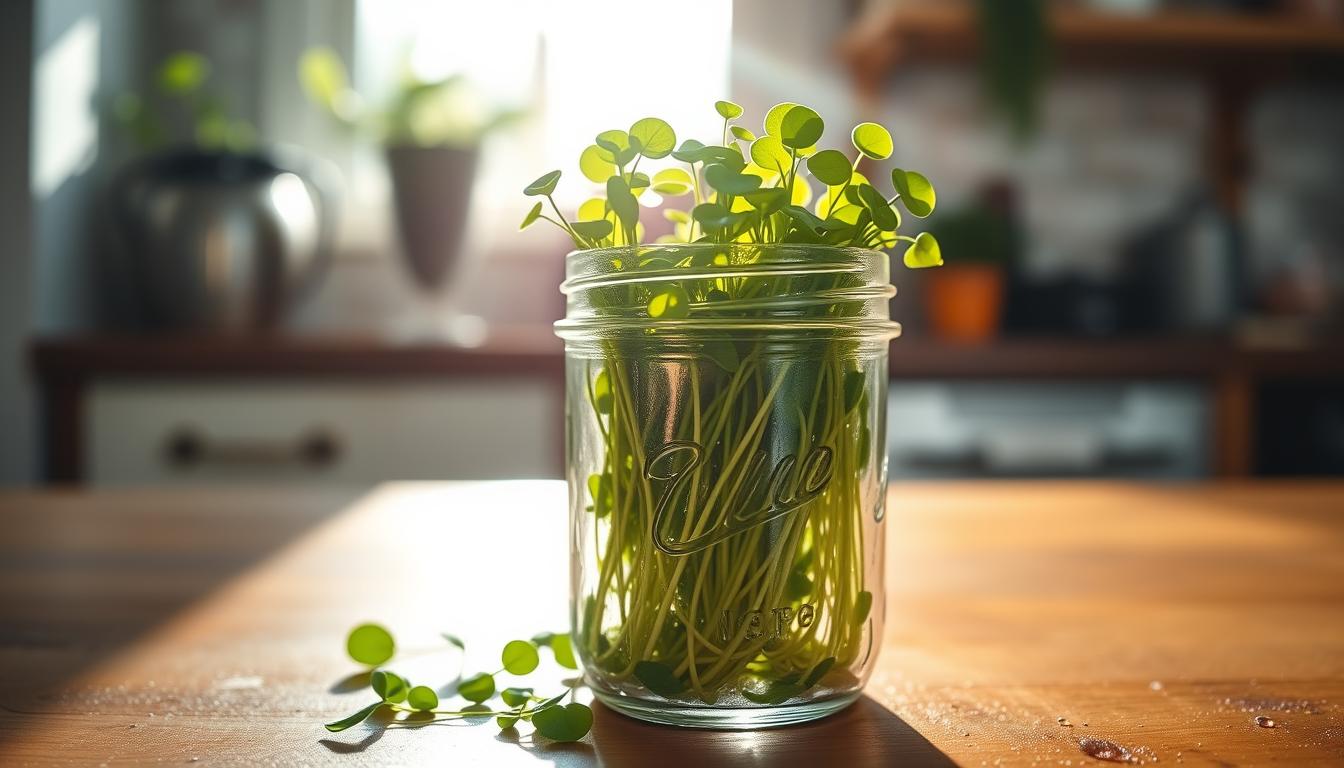
Ever thought about growing your own greens without a garden? Mason jar microgreens growing is a simple way to do this. It’s perfect for city living and small spaces.
Imagine picking fresh greens from your kitchen. With mason jar microgreens, you can. They’re ready in 7-14 days and are super nutritious.
This method is easy and cheap. One bag of seeds can give you many harvests. You’ll need wide-mouth mason jars, which are affordable. With a little care, you can grow your own greens all year.
Key Takeaways
- Mason jar microgreens are a space-saving indoor gardening solution
- Microgreens contain higher concentrations of essential vitamins than mature plants
- Growing your own microgreens can be more cost-effective than buying them
- The process takes 7-14 days from planting to harvest
- Mason jars with perforated lids are ideal for microgreen cultivation
- Daily rinsing and draining are key for successful growth
- Homegrown microgreens offer a sustainable way to enjoy fresh, nutritious produce
Understanding Mason Jar Microgreens Growing
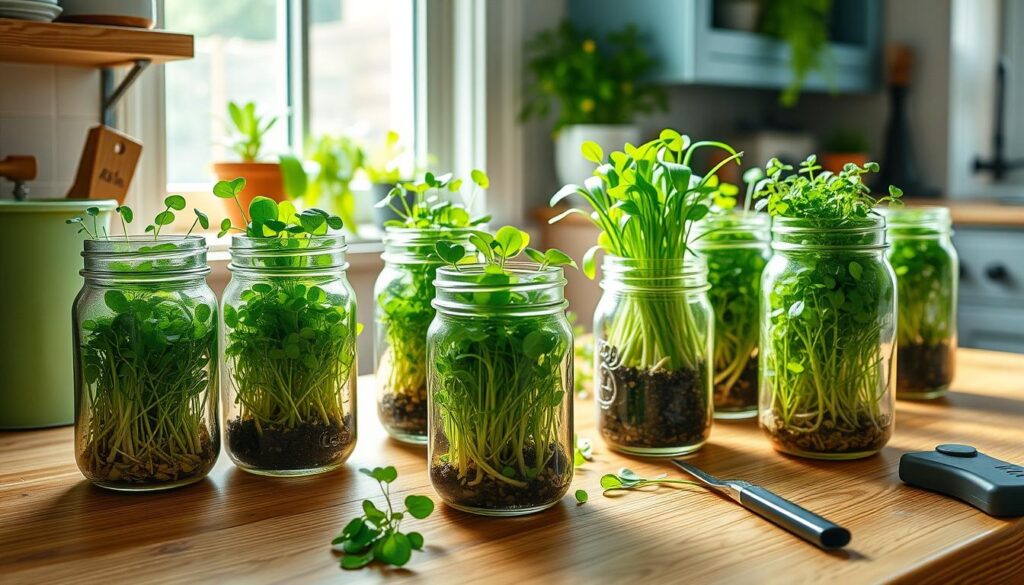
Mason jar microgreen cultivation is a great way to farm in small spaces. It lets you grow nutritious greens right in your kitchen. This method is simple and efficient, making it popular for growing fresh, tasty sprouts.
What Are Microgreens?
Microgreens are young plants, harvested soon after they sprout. They are packed with vitamins and minerals, often more than full-grown plants. Growing microgreens in a jar is a cheap way to get fresh greens all year.
Benefits of Growing in Mason Jars
Mason jar cultivation has many benefits for microgreen fans:
- Space-efficient: Great for small kitchens or urban homes
- Cost-effective: Needs little equipment and supplies
- Quick results: Ready to harvest in 7-14 days
- Versatile: Works well with many seeds, like pea, radish, and broccoli
Space-Saving Indoor Gardening Solution
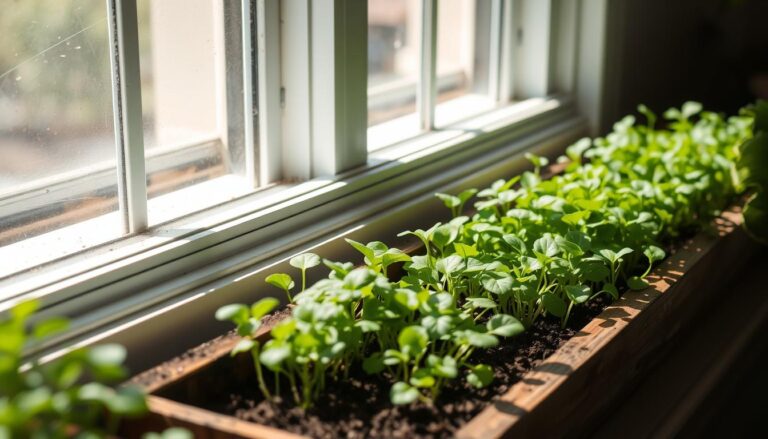
For those with little outdoor space, mason jar microgreens are a top indoor gardening choice. They need a light spot, but not direct sunlight. This makes them perfect for windowsills or countertops. With 6-8 hours of light and regular water, you can have a steady supply of fresh greens.
| Microgreen Type | Days to Harvest | Light Requirement | Watering Frequency |
|---|---|---|---|
| Broccoli | 10-14 days | 6-8 hours | Twice daily |
| Radish | 7-10 days | 6-8 hours | Twice daily |
| Pea Shoots | 10-14 days | 6-8 hours | Twice daily |
Essential Supplies and Equipment
Starting your jar gardening journey needs a few key supplies. With the right tools, you can create a thriving indoor garden quickly. Let’s look at the essentials for your microgreen growing kits.
Mason Jar Selection Guide
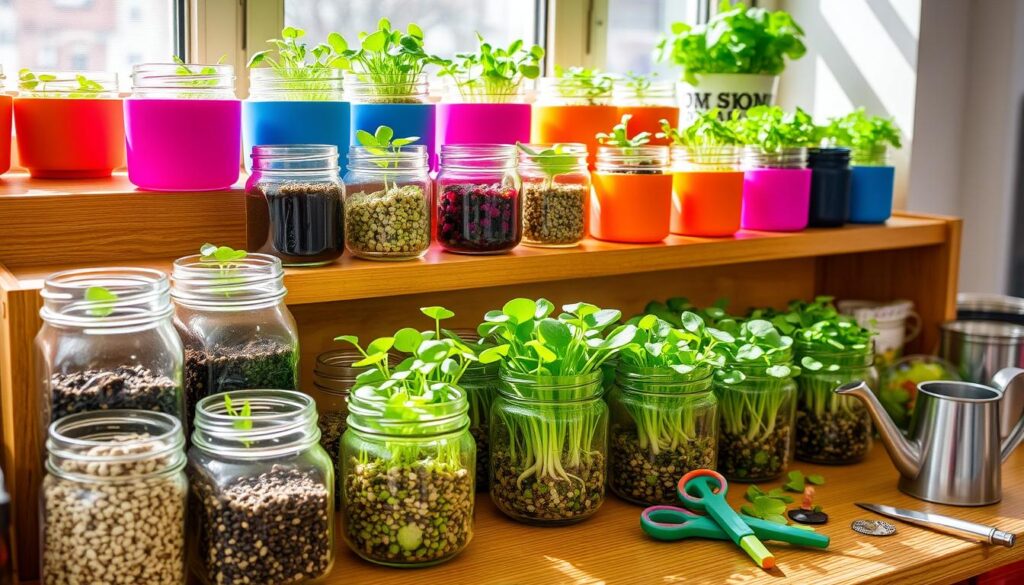
Wide-mouth mason jars are perfect for growing microgreens. They offer plenty of space for growth and easy harvesting. Choose jars that are at least 500ml to give your plants enough room.
Sprouting Lids and Covers
Good ventilation and drainage are key for healthy microgreens. Get sprouting lids with fine mesh or perforated covers. These let air in and water out, preventing mould and ensuring your plants thrive.
Best Seeds for Mason Jar Growing
Picking the right seeds is essential for jar gardening success. Go for organic, untreated seeds made for microgreens. Some top picks are:
- Broccoli
- Radish
- Kale
- Alfalfa
Remember, different seeds soak for different times:
| Seed Type | Soaking Time |
|---|---|
| Small (e.g., alfalfa, broccoli) | 10 minutes |
| Medium (e.g., radish, mung beans) | 4 hours |
| Large (e.g., adzuki beans, chickpeas) | 8 hours |
With these essential supplies, you’re set for your jar gardening journey. Don’t forget to rinse your sprouts three to four times a day for the best growth.
Nutritional Benefits of Home-Grown Microgreens
Microgreen nutrition is truly remarkable. These tiny powerhouses pack a punch when it comes to vitamins and minerals. Growing your own microgreens at home ensures you’re getting the freshest, most nutrient-dense produce possible.
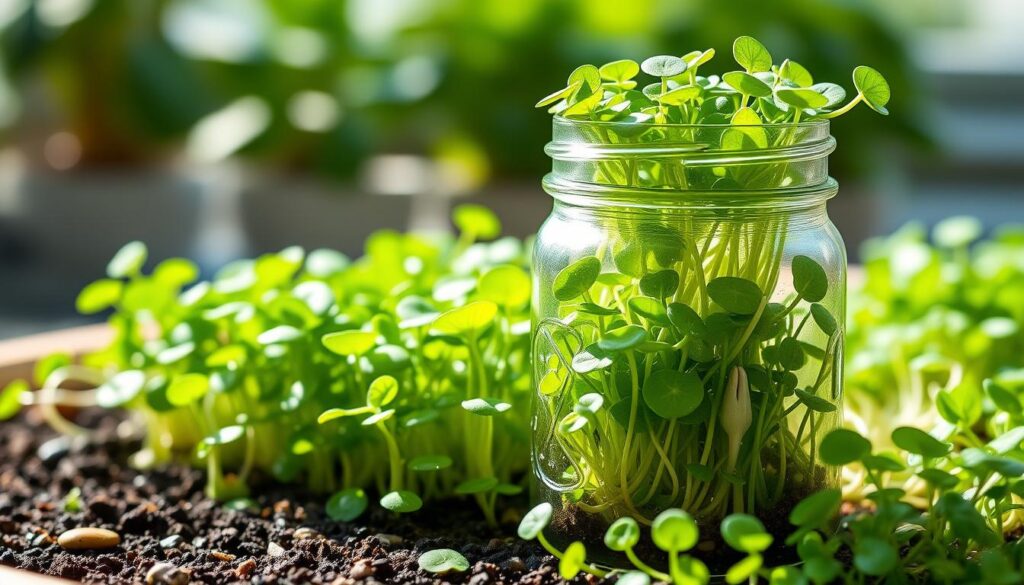
Homegrown superfoods like microgreens can contain up to 40 times more nutrients than fully grown vegetables. Red cabbage microgreens, for example, are bursting with vitamins C, E, and K. Sunflower microgreens offer a hefty dose of iron, magnesium, and potassium.
Kale microgreens are calcium-rich, while basil microgreens provide a range of essential minerals. Studies show that these nutrient-dense greens may help reduce the risk of heart disease and other health concerns.
| Microgreen Variety | Key Nutrients |
|---|---|
| Red Cabbage | Vitamins C, E, K, Anthocyanins |
| Sunflower | Iron, Magnesium, Potassium, Vitamins A, C |
| Kale | Calcium, Vitamins A, C, K |
| Basil | Calcium, Iron, Magnesium, Phosphorus, Potassium |
By growing microgreens in mason jars, you’re not only saving space but also ensuring maximum nutritional value. Unlike store-bought produce, which may lose nutrients during transport and storage, your homegrown superfoods will be at their peak when you’re ready to enjoy them.
Best Microgreen Varieties for Mason Jar Cultivation
Growing microgreens in Mason jars is a great way to have fresh greens all year. Choosing the right seeds is key for growing them well in these small spaces.
Easy-to-Grow Options for Beginners
For beginners, some microgreens are easier to grow. Radish, broccoli, and alfalfa are good choices. They sprout quickly and are ready in 7 to 14 days. Lettuce and spinach are also easy to grow in a jar.
Popular Microgreen Combinations
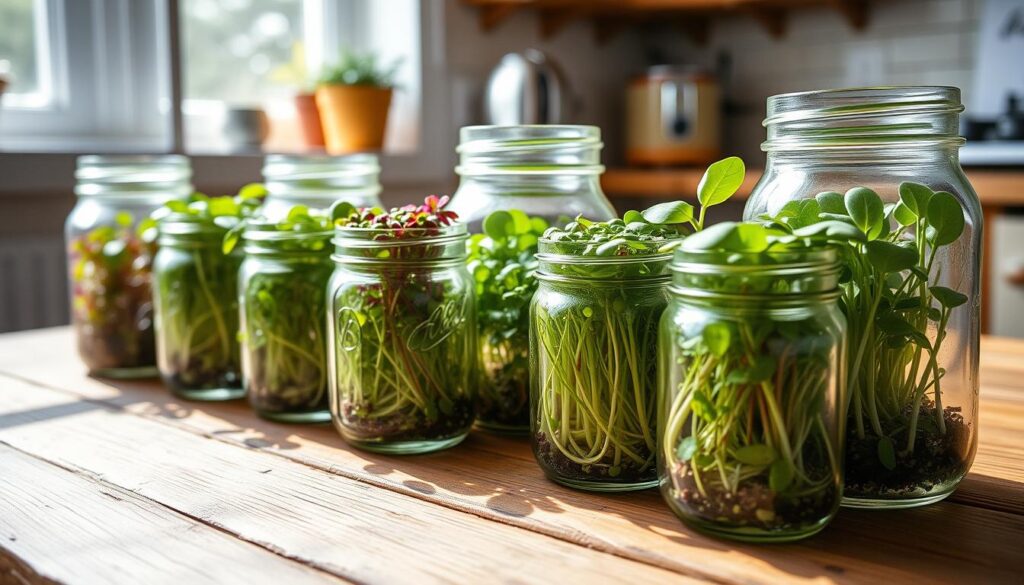
Combining different microgreens can make your greens more interesting. Try mixing pea shoots with watercress for a mild taste. Or, mix sunflower greens with mustard for a tangy flavor. These mixes add variety and nutrients to your harvest.
Seasonal Growing Recommendations
Mason jars let you grow microgreens all year. But, some do better in certain seasons. In winter, grow kale and cabbage. In summer, basil and amaranth do well. Make sure your jars get 6-8 hours of light a day, but not direct sunlight.
| Season | Recommended Microgreens | Growth Time |
|---|---|---|
| Winter | Kale, Cabbage, Spinach | 2-3 weeks |
| Summer | Basil, Amaranth, Arugula | 1-2 weeks |
| All-Season | Radish, Broccoli, Alfalfa | 10-14 days |
With the right care, these microgreens can keep you in fresh greens all year. Mason jar growing is perfect for city gardeners and food lovers.
Step-by-Step Growing Process
Starting to grow microgreens in mason jars is a fun journey. It’s a simple way to get fresh, healthy greens right in your kitchen. Let’s explore how to grow these tiny greens.
Seed Preparation and Soaking
First, pick good quality sprouting seeds. Soak them in water for 5-7 hours or overnight. This helps them start growing. After soaking, rinse the seeds well to get rid of any dirt.
Planting Technique
Spread the soaked seeds over the bottom of your mason jar. A 500 ml jar works best. Then, cover them with a thin layer of soil or growing medium. This gives them the nutrients and support they need.
Watering and Drainage Methods
Water your seeds gently with a spray bottle. This helps avoid disturbing them. It’s important to have good drainage for healthy growth. Tilt your jar at a 45-degree angle or use a jar stand to let excess water out. For the first 3-4 days, rinse and drain your seeds twice a day. Later, do it once a day as they grow.
Microgreens need 6-8 hours of light each day to grow well. In a few days to a week, your jar will be full of nutritious microgreens. They’re ready to be picked when they’re 1-2 inches tall.
Light Requirements and Positioning
Getting the right light is key for growing microgreens indoors. They need 6-8 hours of sunlight each day to grow well. Place your mason jars near a sunny window to catch natural light. If sunlight is scarce, LED grow lights can help out.
Don’t let your microgreens get too much direct sunlight. It can make them too hot. Instead, go for bright, indirect light. Also, turn your jars often to help all plants grow evenly. This small action can greatly improve your harvest.
When using artificial lights, keep them 15-30 centimetres above your microgreens. As they grow, move the lights up to keep them from getting too hot. This way, your plants get the best light without overheating.
“Microgreens are nature’s superfoods, providing a high concentration of nutrients in a small package.”
Keep in mind, different microgreens need different amounts of light. Try different positions to find what works best for each one. With the right light, you’ll soon have a big harvest of microgreens right in your kitchen.
Proper Care and Maintenance
For your microgreens to grow well, they need regular care. Follow a few easy steps to make sure your plants do great in their mason jar home.
Daily Watering Schedule
Microgreens need water to grow well. Mist them once or twice a day, depending on your space’s humidity and temperature. Keep the soil moist but not too wet.
Temperature Control
Most microgreens grow best in temperatures between 18-24°C. Keep the area stable for healthy growth. Watch out for heat from artificial lights and adjust as needed.
Preventing Common Issues
Good air flow helps stop mould. Check your microgreens often for disease or pests. If you find any, take out the affected plants right away to prevent it from spreading.
| Issue | Prevention |
|---|---|
| Mould growth | Ensure proper ventilation |
| Overwatering | Use well-draining soil |
| Pest infestation | Regular inspections |
By sticking to these care tips, you’ll have a thriving microgreen garden. Remember, being consistent is important. With the right care, your microgreens will be ready to eat in about 10 days. They’ll add lots of nutrients to your meals.
Harvesting Your Microgreens
Learning how to harvest microgreens is key to enjoying them at their best. It’s a simple process, but timing and technique are important. They help bring out the flavour and nutrients.
Optimal Harvest Time
Microgreens are ready when they’re 1-2 inches long, usually 7-14 days after planting. This is when they have the best taste and nutrients. Look for the first true leaves before you cut them.
Cutting Techniques
Use sharp scissors to cut the stems just above the soil. Harvest in the morning when the plants are fresh and moist. This way, you get the best taste and nutrients.
Storage Methods
After harvesting, rinse the microgreens gently with cool water and pat them dry. Store them in a sealed container with paper towels in the fridge. Most types stay fresh for 5-7 days.
| Microgreen Type | Harvest Time (Days) | Storage Duration (Days) |
|---|---|---|
| Broccoli | 10-14 | 5-7 |
| Radish | 7-10 | 4-6 |
| Pea Shoots | 10-14 | 7-10 |
Microgreens are great for soups, salads, sandwiches, or as a healthy snack.
Troubleshooting Common Problems
In microgreen cultivation, growers often face challenges that can impact their sustainable produce. Understanding these issues is key for successful harvests.
Mould growth is a common problem, affecting about 80% of microgreen crops. To prevent this, ensure proper ventilation and avoid overwatering. Slow germination can be frustrating, but pre-soaking seeds for 8 to 12 hours before planting can boost germination rates.
Leggy plants often result from insufficient light. Most microgreens need 2-4 days for germination and may appear yellowish before sunlight exposure. If your microgreens have spindly stems, you might have kept them covered too long.
Uneven growth can occur due to overcrowding, which is a big problem with small seeds like broccoli or basil. To address this, space seeds properly and water directly at the roots once or twice daily.
| Problem | Cause | Solution |
|---|---|---|
| Mould growth | Poor ventilation, overwatering | Improve air circulation, reduce watering |
| Slow germination | Old seeds, incorrect temperature | Pre-soak seeds, maintain optimal conditions |
| Leggy plants | Insufficient light | Adjust lighting or reposition containers |
| Uneven growth | Overcrowding | Proper seed spacing |
By addressing these common issues, you can enhance your microgreen cultivation. This ensures a bountiful harvest of nutrient-rich, sustainable produce.
Creative Uses in Cooking
Discover the versatility of microgreens in your culinary adventures. These nutrient-packed powerhouses can elevate your dishes with their vibrant colours and unique flavours. Let’s explore some exciting ways to incorporate microgreens into your meals, boosting both taste and nutrition.
Fresh Salad Ideas
Transform your ordinary salads into extraordinary creations with microgreens. Mix different varieties to create a colourful base for your salad. Try combining peppery radish microgreens with mild sunflower shoots for a balanced flavour profile. For a nutrient-dense meal, toss in some quinoa, avocado, and a light vinaigrette.
Garnishing Tips
Elevate your plating skills by using microgreens as garnishes. Sprinkle a handful of delicate microgreens atop soups, stir-fries, or omelets for a pop of colour and freshness. Their crisp texture adds a delightful contrast to creamy dishes like risottos or mashed potatoes.
Recipe Suggestions
Experiment with these microgreen recipes to boost your microgreen nutrition intake:
- Microgreen Pesto: Blend basil microgreens with pine nuts, garlic, and olive oil for a nutrient-rich sauce.
- Green Smoothie: Add a handful of mild microgreens like kale or spinach to your morning smoothie for an extra nutritional punch.
- Microgreen Wrap: Use larger microgreens as a replacement for lettuce in your favourite wrap recipes.
| Microgreen Variety | Flavour Profile | Best Culinary Uses |
|---|---|---|
| Radish | Peppery, spicy | Salads, sandwiches, Asian-inspired dishes |
| Sunflower | Nutty, mild | Smoothies, garnishes, pestos |
| Basil | Aromatic, sweet | Italian dishes, pestos, cocktails |
| Pea Shoots | Sweet, tender | Stir-fries, salads, garnishes |
Remember, microgreens are up to 40 times more nutritious than their mature counterparts, making them an excellent addition to any meal. With over 60 varieties available, you have endless possibilities to explore in your kitchen. Start experimenting today and discover your favourite microgreen recipes!
Sustainable Growing Practices
Mason jar microgreens are a great way to farm in small spaces. They help grow sustainable produce with little harm to the environment. By growing your own, you cut down on food miles and packaging waste.
- Choose organic, non-GMO seeds for clean growth
- Steer clear of synthetic fertilisers and pesticides
- Compost the old growing medium and plant leftovers
- Keep using mason jars and lids to cut down on waste
- Keep growing to have a constant supply of fresh greens
Did you know broccoli sprouts pack as much nutrition as 50 cups of cooked broccoli? This makes microgreens a top pick for sustainable eating.
Growing microgreens at home is not only cost-effective but also environmentally friendly, with low running costs and a smaller carbon footprint.
By following these tips, you help make food production more sustainable. Plus, you get to enjoy fresh, nutritious greens right from your kitchen.
| Sustainability Factor | Traditional Produce | Mason Jar Microgreens |
|---|---|---|
| Food Miles | High | Zero |
| Packaging Waste | Significant | Minimal |
| Water Usage | High | Low |
| Chemical Input | Variable | None (if organic) |
| Nutrient Density | Lower | Higher |
Conclusion
Mason jar microgreens growing is a great way to enjoy indoor gardening and get sustainable produce. It’s perfect for city folks in India who want to grow fresh greens even with little space. You can get fresh greens all year round, thanks to the quick growth cycle.
Microgreens are incredibly versatile. You can try over 100 different types to add new tastes and textures to your food. They’re also super nutritious, with more vitamins, minerals, and antioxidants than full-grown greens. Growing microgreens on paper towels is another cool way to expand your indoor gardening skills.
By growing microgreens in mason jars, you’re not just making food; you’re living sustainably. It saves on fridge space and avoids the issues of broken cold chains with store-bought sprouts. With the right care, your microgreens can stay fresh for up to a week. Start your mason jar microgreens journey today and enjoy the fresh, homegrown goodness.


