Discover How To Dry Herbs: A Complete Guide For Beginners
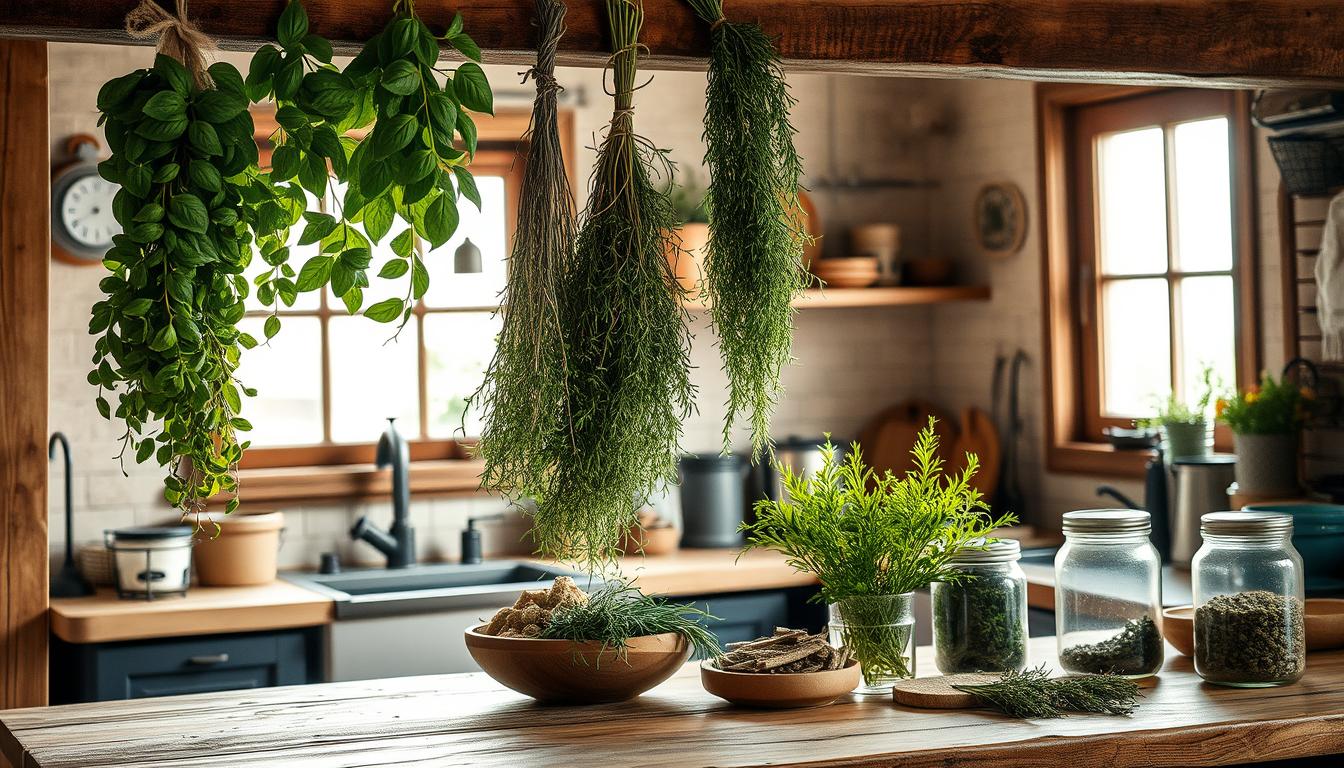
Ever thought about keeping your garden herbs’ flavours alive after the growing season? Drying herbs at home is easy and rewarding. It can make your cooking better and help you be more self-sufficient. This guide will show you how to dry herbs, so you can enjoy them all year.
Whether you’re new to gardening or cooking, drying herbs is exciting. There are many ways to do it, from air drying to using modern gadgets. Learning these methods can save your money and give you fresh, organic herbs for your kitchen.
We’ll look at the best ways to pick, prepare, and store your dried herbs. You’ll learn about different drying methods and pick the one that fits your needs. Get ready to turn your fresh herbs into flavourful treasures that will make your cooking even better for months.
Key Takeaways
- Drying herbs preserves flavour and extends shelf life
- Multiple drying methods suit various herbs and home setups
- Proper timing of harvest ensures optimal flavour retention
- Avoid direct sunlight to maintain herb quality during drying
- Correct storage is crucial for long-lasting dried herbs
Understanding the Benefits of Drying Your Own Herbs
Drying herbs at home is great for garden lovers and food enthusiasts. It gives you a steady supply of tasty herbs. It also saves money and boosts your kitchen’s nutrition.
Preserving Flavour and Nutrients
Home-dried herbs keep their flavour and nutrients better than store-bought ones. They hold onto their essential oils. These oils are key for their taste and health benefits.
Cost-Effective Garden-to-Table Solution
Drying your own herbs is a smart money move. It lets you skip buying pricey dried herbs. This way, you save cash and get herbs of the best quality and origin.
Year-Round Herb Availability
Drying herbs means you can enjoy your favourite tastes all year. It lets you use summer herbs even in winter. With the right storage, dried herbs stay good for up to a year.
| Herb | Drying Method | Storage Life |
|---|---|---|
| Rosemary | Air drying | 1 year |
| Thyme | Dehydrator | 6-8 months |
| Basil | Oven drying | 6 months |
Learning to dry herbs ensures you always have top-notch herbs for cooking. It makes your meals better and connects you more to your garden.
Essential Preparation Steps Before Drying
Learning how to dry herbs starts with the right preparation. This ensures your herbs stay flavorful and potent. It’s all about the approach.
Best Time to Harvest Herbs
Harvesting herbs at the right time is key. Pick leaves and flowers in spring or early summer, after the dew has gone. For root herbs, harvest in late autumn or early spring. This is when they store energy in their roots.
Cleaning and Sorting Methods
After you’ve picked your herbs, clean them well. Get rid of any dead or wilted parts. If you grew them outside, a gentle rinse might be needed. Then, pat them dry with a clean cloth to remove extra moisture.
Required Tools and Materials
Collect the tools you need for drying herbs. You’ll need sharp scissors or pruning shears for cutting, twine or rubber bands for tying, and drying racks or trays. Don’t forget paper bags and cheesecloth for some drying methods.
| Tool | Purpose |
|---|---|
| Scissors/Pruning Shears | Clean cutting of herbs |
| Twine/Rubber Bands | Bundling herbs for hanging |
| Drying Racks/Trays | Flat surface for herb drying |
| Paper Bags | Protection from dust while drying |
| Cheesecloth | Covering herbs during drying process |
With these steps done, you’re ready to start drying your herbs. You can use air drying, oven drying, or a food dehydrator. These steps will help you preserve your herbs successfully.
How to Dry Herbs: Four Proven Methods
Drying herbs at home is a rewarding way to preserve your garden’s bounty. Let’s explore four effective techniques for drying herbs, each with its own advantages.
Air Drying Technique
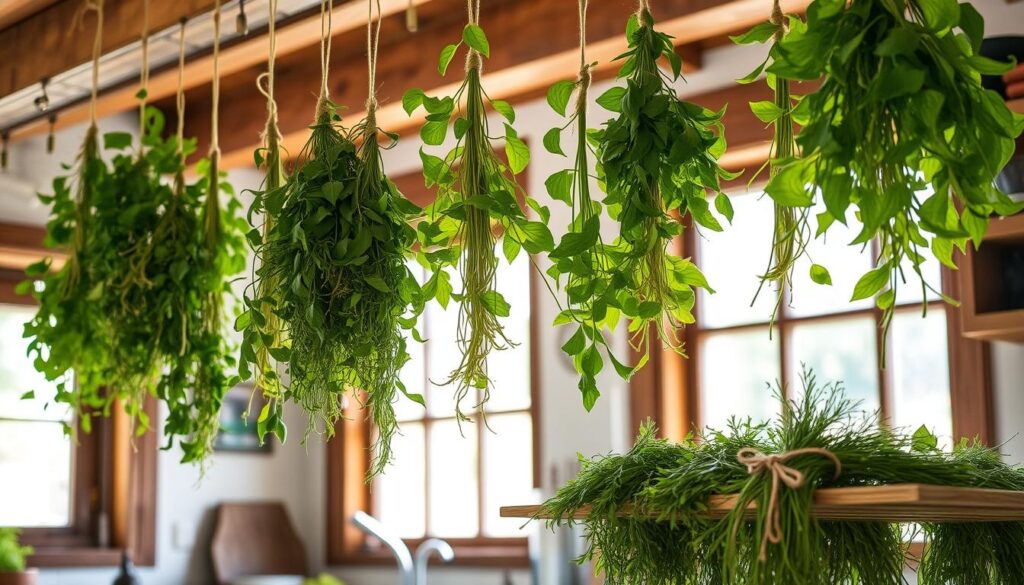
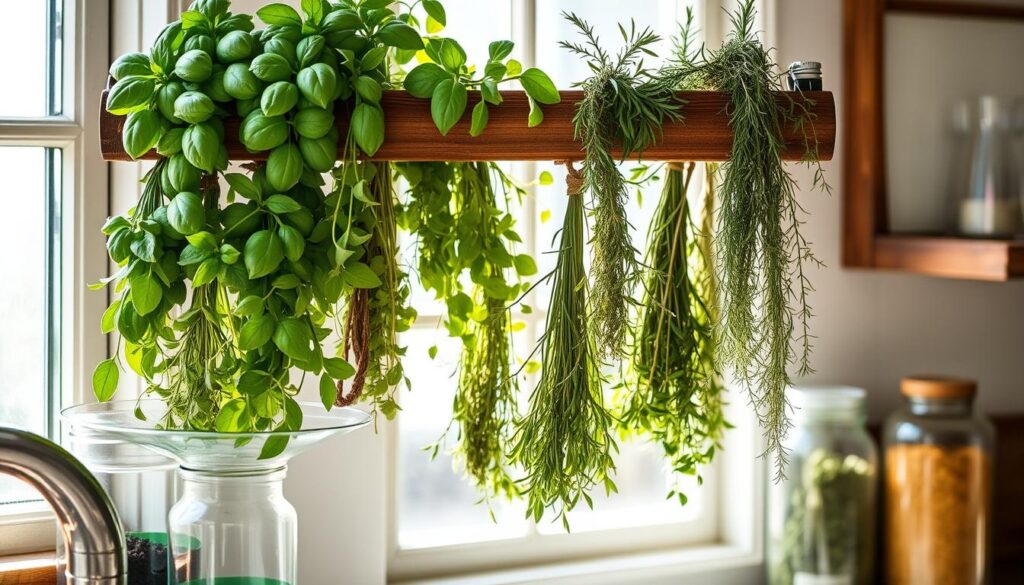
Air drying herbs is a traditional method that preserves flavour well. Gather small bundles of herbs and hang them in a warm, dry place for two to three weeks. This technique works best for herbs with low moisture content and is ideal for those grown in your garden, as they retain more flavour compared to store-bought varieties.
Oven Drying Process
Oven drying herbs is quicker than air drying. Set your oven to 180 degrees or less and spread herbs on a baking sheet. The process takes 2 to 4 hours, depending on the herb’s moisture content. Keep a close eye to prevent over-drying and loss of essential oils.
Microwave Drying Method
For a speedy option, try microwave drying herbs. Place herbs between paper towels and microwave on high for 2 to 3 minutes. If needed, add 30-second increments until the herbs are crisp. This method is particularly useful for small quantities.
Food Dehydrator Approach
A food dehydrator offers precise temperature control for drying herbs. Available for around £40, these devices can expand from 1 to 13 trays, allowing you to dry large quantities efficiently. This method is excellent for preserving the herbs’ essential oils and flavour.
| Drying Method | Time Required | Best For |
|---|---|---|
| Air Drying | 2-3 weeks | Low-moisture herbs |
| Oven Drying | 2-4 hours | Larger quantities |
| Microwave Drying | 2-3 minutes | Small batches |
| Food Dehydrator | Variable | Precise drying |
Remember, dried herbs are three to four times stronger than fresh ones. Store your dried herbs in airtight containers in a cool, dark place for 6 to 12 months of flavourful use.
Best Herbs for Drying and Their Properties
Not all herbs are the same when it comes to drying at home. Some herbs keep their flavour and health benefits well. This makes them perfect for drying.
| Herb | Drying Time | Properties |
|---|---|---|
| Sage | 1 week (air drying) | Treats sore throats, mouth ulcers, inflammation, fevers |
| Thyme | 12 hours (dehydrator) | Expectorant, antibacterial, antiseptic for coughs and colds |
| Marigold | 1 week (air drying) | Treats coughs, eye infections, fungal issues, aids radiation recovery |
Mint, lavender, oregano, and lemon balm are also great for drying at home. They keep their unique smells and health benefits when dried right.
Some herbs, like parsley, fresh cilantro, and basil, don’t dry well. They might lose their taste. For these, try freezing in oil or making pestos instead.
Trying out different drying methods can help you find the best one for each herb. You can use air drying, oven drying, or a food dehydrator. The goal is to keep the herbs’ natural goodness for cooking and health remedies all year.
Proper Storage Solutions for Dried Herbs
Learning how to store herbs is key to keeping them fresh and tasty. Dried herbs can last up to two years if stored right. This makes them a great way to enjoy your garden all year.
Choosing the Right Containers
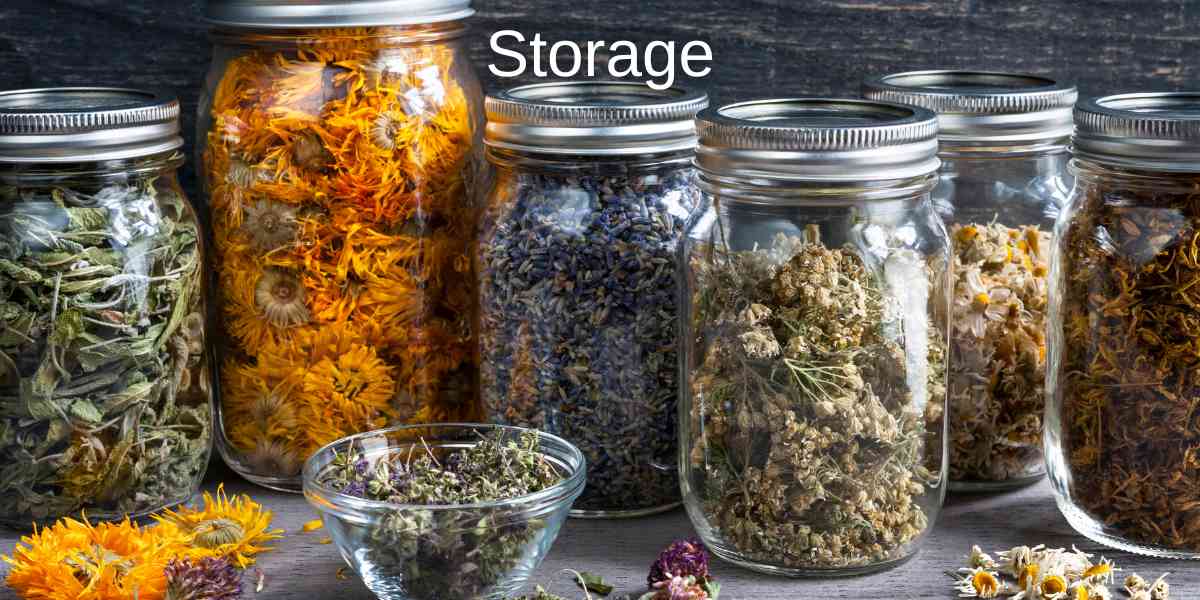
Use airtight containers like small canning jars or zippered bags for storage. Glass jars, especially amber ones, keep herbs away from light. Fill them up to reduce air, which can harm the herbs.
Optimal Storage Conditions
Keep your dried herbs in a cool, dark place with temperatures between 60 to 70°F. This keeps their flavour and potency. Store whole leaves and only crumble them when you’re ready to use.
Labelling and Organisation Tips
Labelling is important for good herb storage. Write the herb name, part used, and drying date on each container. This helps you use the oldest herbs first. Organise them by how often you use them or alphabetically for easy finding.
| Herb Type | Storage Method | Shelf Life |
|---|---|---|
| Dried leaves and flowers | Airtight containers in cool, dark space | 1-2 years |
| Roots, seeds, and barks | Airtight containers in cool, dark space | 2-3 years |
| Tinctures | Cool, dark space | Several years to decades |
| Herbal-infused oils and salves | Refrigerated | 2-3 years |
By following these tips, your dried herbs will stay fresh and flavourful. This way, you can enjoy your garden’s harvest all year.
Common Mistakes to Avoid When Drying Herbs
Learning to dry herbs can be rewarding, but mistakes are common. Knowing these errors helps you dry herbs well. This way, your herbs will keep their taste and quality.
Drying herbs in direct sunlight is a big mistake. It can ruin their taste and health benefits. Instead, dry them in the shade to keep their colour and strength.
Another error is making herb bundles too big. This stops air from getting through and can cause mould.
When using the oven, don’t let it get too hot. Keep the temperature below 45ºC to save the herbs’ oils. For dehydrators, aim for 95°F. Adjust the time based on the herb’s size and moisture.
- Don’t neglect to clean herbs thoroughly before drying
- Avoid storing partially dried herbs, as this can lead to spoilage
- Don’t hang herbs in humid areas without proper air circulation
- Avoid using plastic bags for storage, opt for airtight glass jars instead
Lastly, labelling is key. Always mark your jars with the herb’s name and when you picked it. This helps keep things organised and fresh. By avoiding these mistakes, you’ll get better at drying herbs at home.
| Mistake | Consequence | Solution |
|---|---|---|
| Drying in direct sunlight | Loss of flavour and colour | Dry in shade or indoors |
| Oversized herb bundles | Poor air circulation, mould risk | Make smaller bundles |
| High drying temperatures | Loss of volatile oils | Keep temperature below 45ºC |
| Improper storage | Reduced shelf life, flavour loss | Use airtight glass containers |
Conclusion
Learning how to dry herbs at home is a game-changer for cooking. It keeps the fresh taste of your garden alive and saves money. Drying herbs at home also cuts down on food waste and boosts your dish’s flavour.
Drying herbs is a mix of science and skill. Did you know that 31.7 ounces of fresh leaves make only 7 ounces of dried herbs? This means you use less dried herbs than fresh ones. Stored right, these herbs can stay good for a year, enriching your kitchen.
Trying out different drying methods can help you find what works best for you. You might prefer air drying, oven drying, or a food dehydrator. The most important thing is to keep the air temperature and flow right. This helps keep the herbs’ oils, which are key to their taste. With practice, you’ll make your cooking better and enjoy your garden’s bounty all year.

